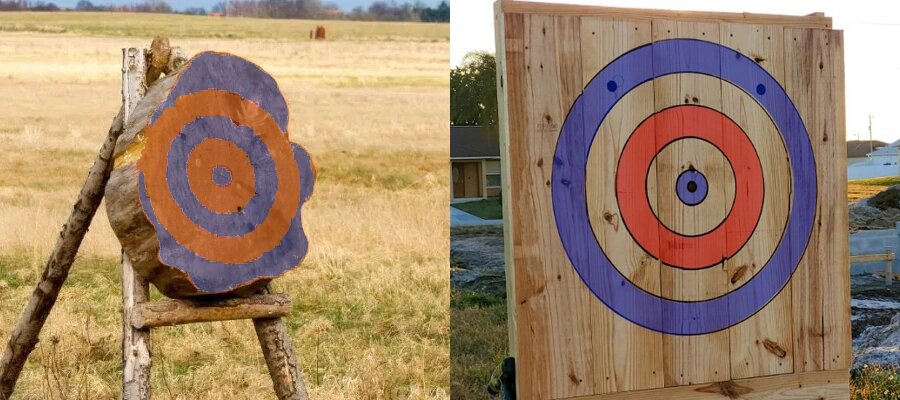
If you’re an axe throwing enthusiast looking to practice your skills at home or in your backyard, building your own axe throwing target is a great option. Not only is it a fun project, but it also allows you to customize the target to suit your preferences. In this step-by-step guide, we’ll walk you through the process of building your own axe throwing target.

Decide on the size of your target. The standard size for an axe throwing target is 4 feet by 4 feet. Draw a square on the plywood or wooden boards using a measuring tape and pencil.
Using a circular saw, carefully cut along the marked lines to create your 4 feet by 4 feet square target. Ensure that your cuts are straight and clean.
Measure and cut the 4×4 pressure-treated lumber into four equal lengths, each measuring 4 feet. These will serve as the vertical support beams for your target. Additionally, cut two shorter pieces measuring 2 feet each to serve as the horizontal supports at the top and bottom of the target.
Lay the plywood target on a flat surface and position the four vertical support beams at each corner. Attach them to the plywood using screws, ensuring that they are securely fastened. Next, attach the horizontal supports at the top and bottom of the target frame, using screws to secure them to the vertical beams.
For added safety and to protect the surrounding area, you may choose to attach a backboard to the target. Cut a piece of plywood or wooden board to the same size as the target face and attach it to the back of the frame using screws.
Inspect the target for any sharp edges or splinters. Sand down any rough areas to create a smooth surface. You can also paint the target face and frame using weather-resistant paint for added durability and visibility.
Find a suitable location for your axe throwing target, ensuring that there is ample space and a safe backdrop for the axes. It’s important to consider safety precautions and ensure that the area is clear of any obstructions.
Building your own axe throwing target allows you to enjoy the sport in the comfort of your own home while adding a personal touch to your practice sessions. By following this step-by-step guide, you can create a durable and safe target that will enhance your axe throwing experience. Remember to prioritize safety by wearing appropriate gear, practicing in a controlled environment, and always adhering to proper throwing techniques. Now, it’s time to grab your axes and start honing your skills on your very own custom-built target. Happy throwing!